| Linux-Mandrake: |
| User Guide and |
| Reference Manual |
MandrakeSoft
January 2000 http://www.linux-mandrake.com
Although using the new DrakX graphical installation is the recommended (and easiest) way to install Linux-Mandrake, a text-based installation option is also available.
The text-based install requires you to create a bootable floppy-disk if you are unable to boot directly from the CDROM. Instructions for creating a bootable floppy are contained in the Install guide.
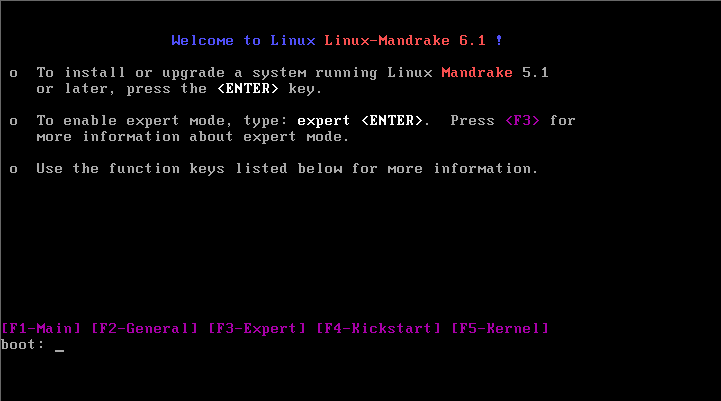
When you run the program from a disk, you should obtain the screen displayed in figure 275.1.

Simply press Enter. The introduction screen then appears, like it
is in figure 23.2.
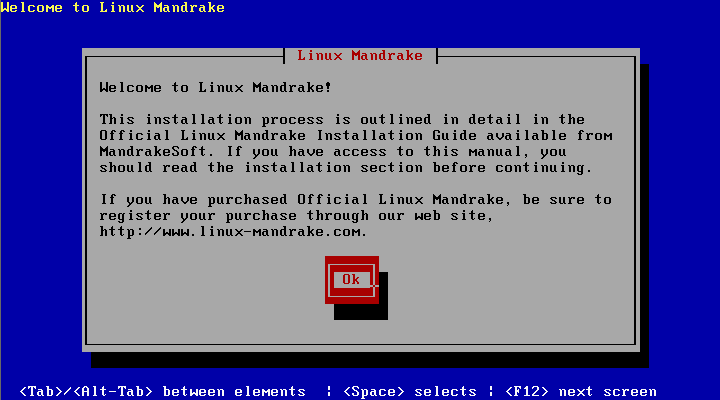
Press Enter again: the installation itself should then start to
run.
Before going any further, it will be useful for you to learn some keyboard shortcuts so that you can manage the text interface. That way, you will not have to remember them all the time throughout this manual:
TAB key will circulate throughout the various items on a
screen (text fields, list of choices);
Enter will simulate pressing the selected button.
If no button is highlighted, pressing this key will be the same as
pressing the button labeled OK.Installation begins as with DrakX: you have to select the default language for the system. This will also be the language for installation, and this choice is displayed figure 23.3.
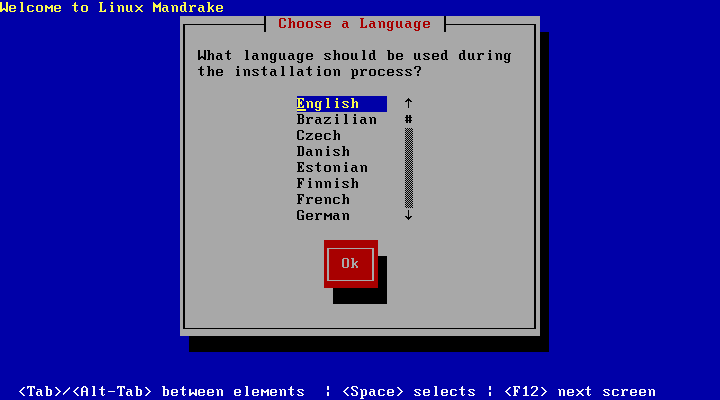
Select the language you want and then validate (OK). Then comes the type of keyboard you have (figure 23.4).
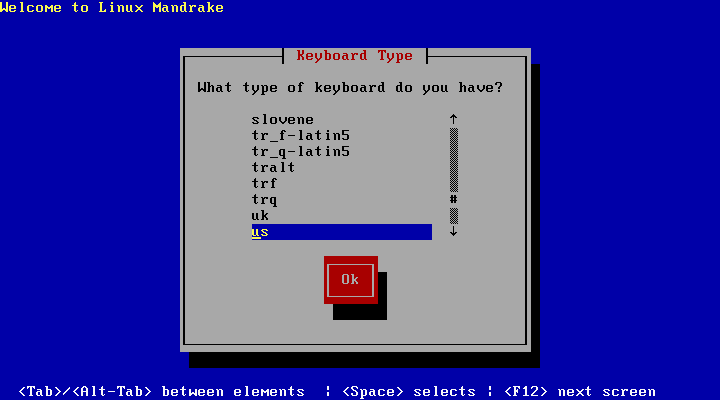
Press OK again to validate.
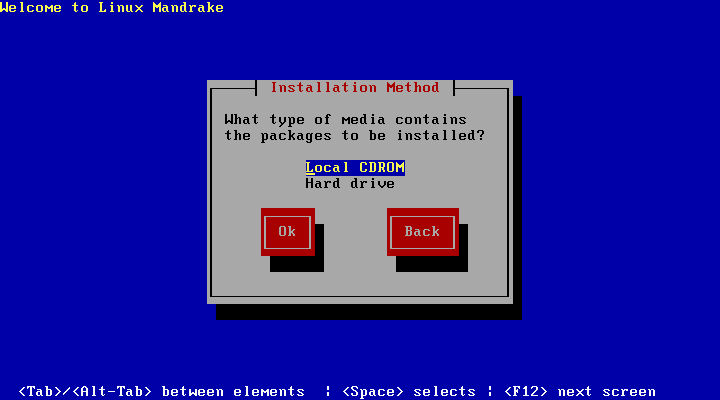
You will then be asked for the type of media the distribution files are located on. The usual choice is CDROM as shown in figure 23.5.
After this, the installation program will ask you to insert the Linux-Mandrake CD (if you have not already done so), then validate.
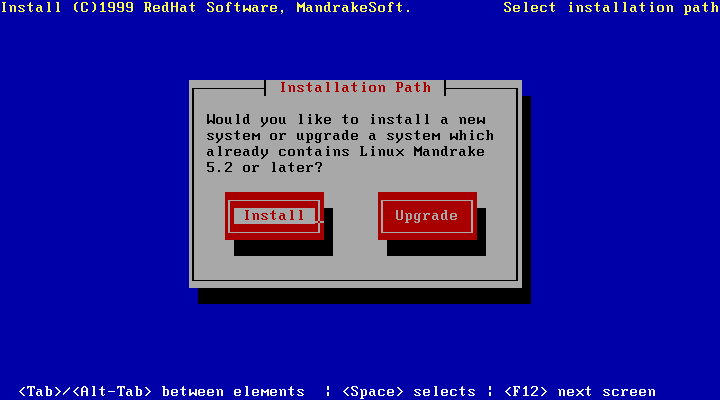
After initializing the CDROM, you will be asked to choose between installing and upgrading. If you are updating a previous version of Linux-Mandrake choose the Upgrade option. To install a new system, choose Install (figure 23.6).
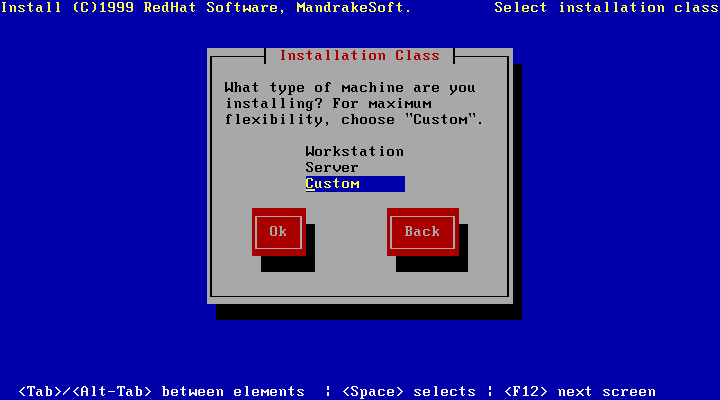
The program will then ask (as shown in figure 23.7) for the installation class desired. These are the options:
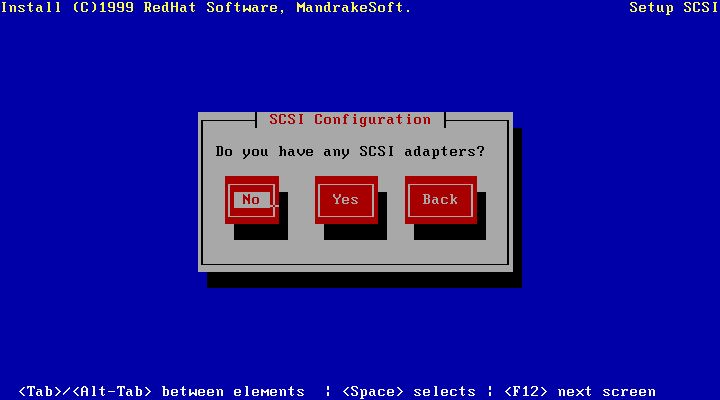
The installation program will then ask you if you have a SCSI card, as in figure 23.8.
If you reply Yes, a search for a PCI adapter will be carried out. If such a card is found, the corresponding driver will be installed. If, on the other hand, you have an ISA card or a PCI card which is not known to the installation program, you will have to tell the installation program which driver to use, as in figure 23.9.
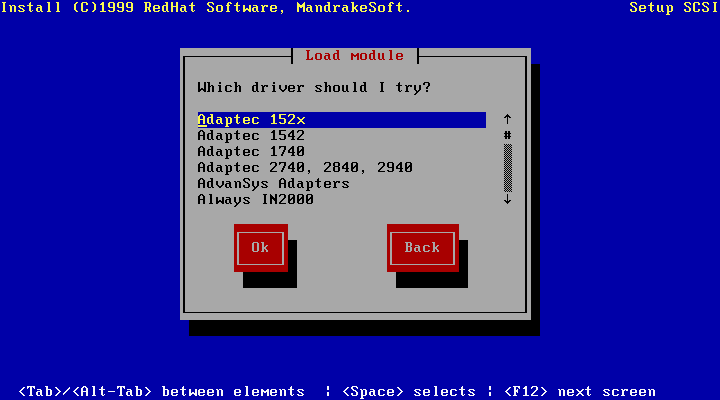
After selecting the driver, the program will ask for parameters for the driver. You can decide not to submit any: the driver will then try to find the adapter itself. Autodetection rarely fails, but if it does, do not forget the information you found in the Install guide: it will again be useful to you here.
To continue with the Custom installation, select Disk Druid from the next screen as shown in figure 23.10. If you have already partitioned the hard drive, the Disk Druid program will let you specify mount points for the partitions. If you still need to create or modify partitions you may also perform that here.
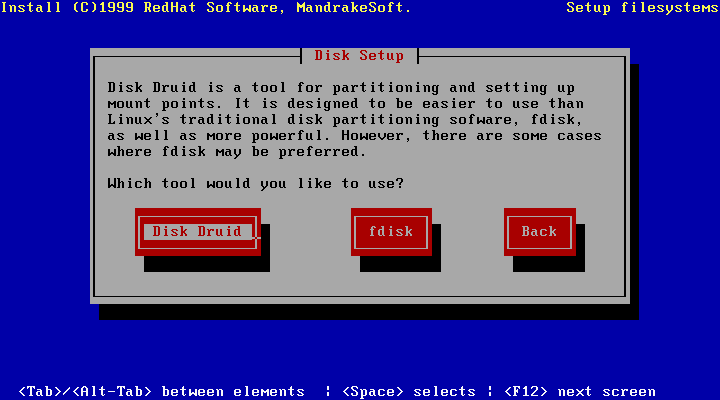
You will then see the display of figure 23.11.
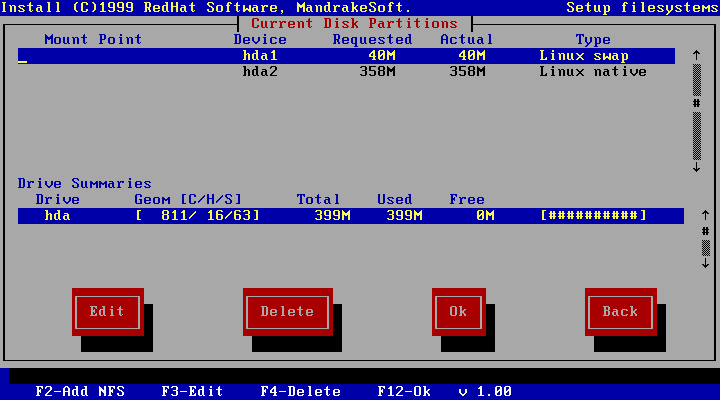
The graphic in figure 23.12 shows the minimum
partitions and types needed for installation. To navigate through this
window use the TAB and cursor keys.
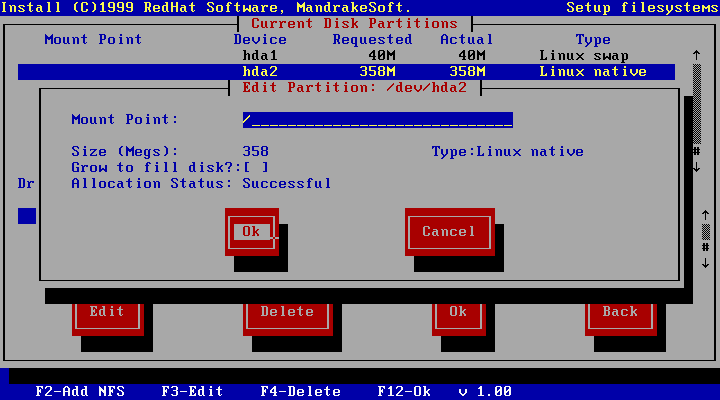
Then press Enter. If you want to find out more about the mount
points, refer to the Reference manual.
Then use the TAB key to move to the OK button, then
validate.
Now that the disk has been partitioned and the mount points allocated, the installation program will format these partitions, which means it will write a filesystem on the partitions. Firstly, the swap space is formatted (figure 23.13).
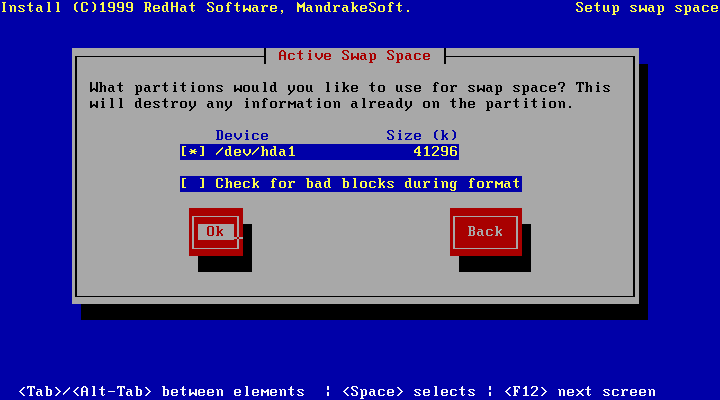
Selecting Check for bad blocks during format is recommended for older, error-prone hard drives; any bad blocks detected will be marked "unusable". Note that enabling this option will dramatically add time to the process. Then comes the formatting of the Linux data partitions (if you have several), as displayed in figure 23.14.
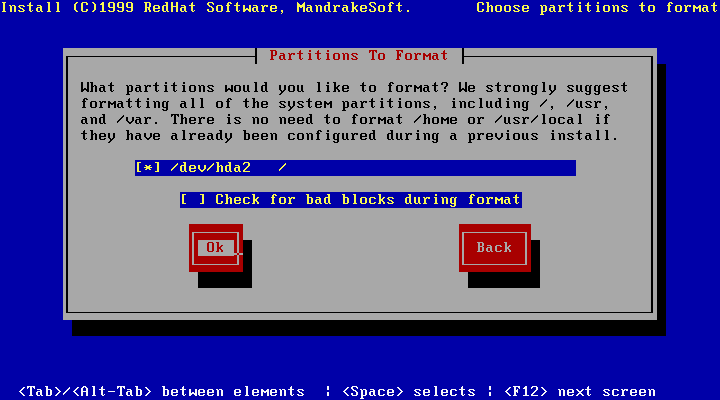
Here too, the procedure and options are the same. If you have several partitions to format, scroll down the list and select each of the partitions that you wish to format, using the spacebar.
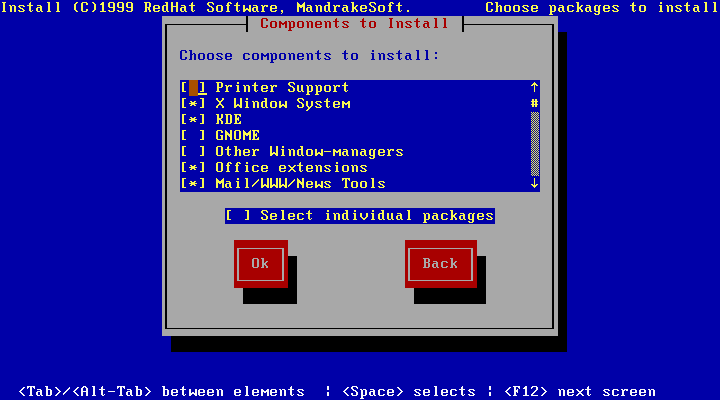
Next you will be asked to choose the software packages to be installed on your machine.
You may select entire groups of software from this list; or, by checking Select packages individually, you will be given the opportunity to choose individual applications (figure 23.15).
If you have asked to select the packages individually, you will see the window of figure 23.16.
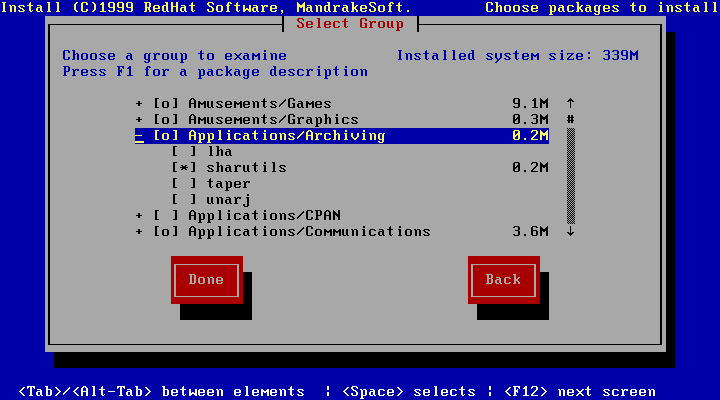
All the groups are organized as a tree, and in each branch you will find
the applications attached to this group. A + in front of a group
means that the tree below this group has been collapsed, a - means
that it has been expanded, and that you can see each of the packages
below this group. You can press the spacebar to open or close a group.
A group marked with a o means that a few packages in this group
are currently selected, but not all.
A group marked with a * means that all the packages in this group
are currently selected. A space means that no application has been
selected.
You can select or deselect a package using the spacebar. If you want to
obtain information on a package, you simply have to highlight it and
press F1.
After you have made your choices select the Done button and
press Return. The partitions you selected are then formatted and
the packages are now installed on your system.
After package selection, the installation program will try to detect your mouse. You will then see a message similar to the one in figure 23.17.
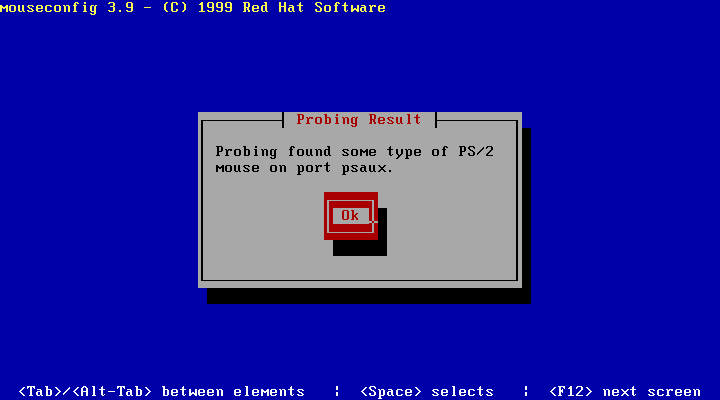
This is a PS/2 mouse. If you have a serial mouse, the message looks like this:
Probing found some type of serial mouse on port ttyS0
In this example, the serial port ttyS0 is the equivalent of
the DOS COM1. Press Enter to validate and the program will
ask you the exact sort of mouse you have: it selects a generic type by
default, but this may not be the one you want
(figure 23.18).

Look through the list and see if it contains one of the types of mouse corresponding to yours. If you have no idea, choose a generic mouse with two or three buttons.
Warning: Many Linux applications depend on a three button mouse. If you have a two button mouse it is possible to emulate a third by selecting Emulate three buttons from this window. To use this "third" button, press both mouse buttons at the same time.
This screen enables you to connect up to an existing local network (by Ethernet, not an Internet connection by modem). If you are not on a network, choose No.
If you answer Yes, the installation program will look for a network card. If it finds one, it will install the driver. If it doesn't find one, a list of drivers will be displayed from which you will have to choose one. Here you may apply any information received from a Windows installation about your network card: just as when you configured an SCSI adapter, you will have to give the parameters to the driver so that it can find the card if autodetection fails.
Once the network card has been configured, you will have to configure its IP address (figure 23.19).

Normally, you will have a static IP address, unless you were part of an existing network and you were given a different method by the administrator. A static IP address is configured as in figure 23.20.
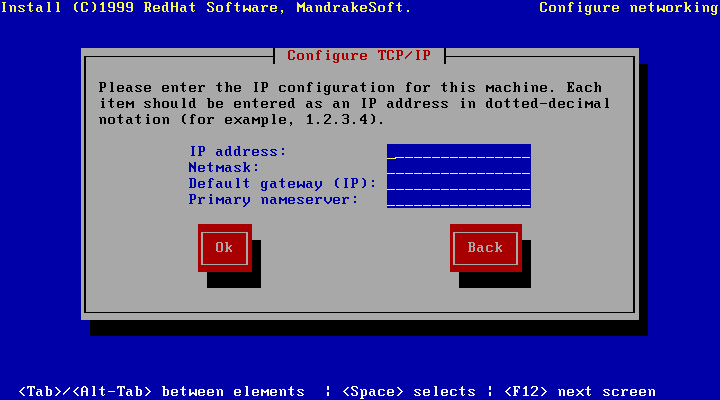
If you are part of an existing network, the network administrator will also have specified the parameters. If you are in a private network, do not forget to take a private network address class!
Similarly, do not enter a default gateway or name server (unless you have configured one) if your network is not connected to the Internet (don't forget that Internet connections by modem do not come under this section). Then you will have to configure the name of your machine (figure 23.21).
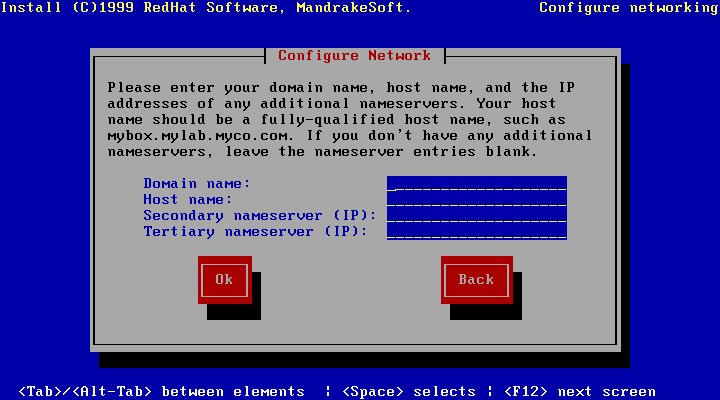
Choose whichever you like if you are on a private network. Otherwise, here too, the network administrator will have given you the name of the machine.
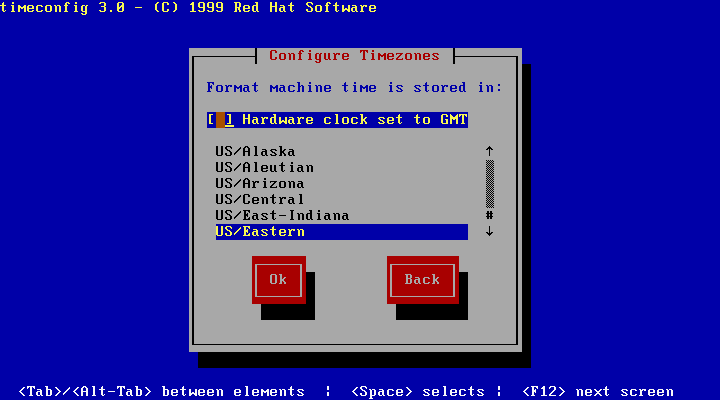
This tab is used to specify your time zone. Choose yours from the list displayed (figure 23.22).
Unless you know otherwise, do not select the Hardware clock set to GMT option; this would mean that your BIOS uses GMT time which isn't likely considering Windows does not support GMT.
During the startup process, a certain number of services will be started
automatically. From the screen of figure 23.23 you can
choose which services to enable during startup. If you're not sure, it's
okay to leave the default selections. To view descriptions, select a
service using the cursor keys and hit F1.
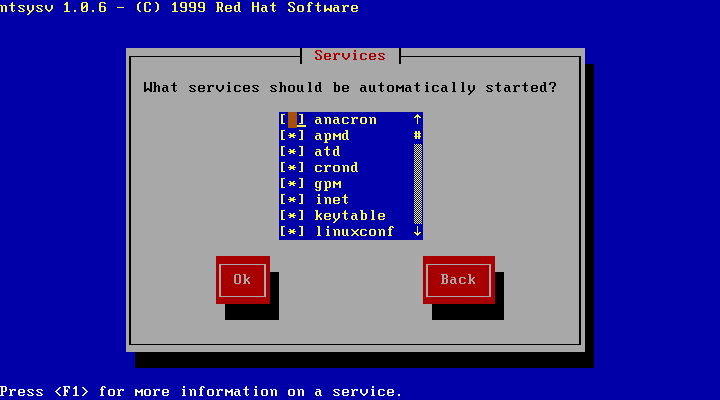
If you do not know to what these services correspond, leave the screen as it is.
If you want to configure a printer, pay attention to the screen of figure 23.24.
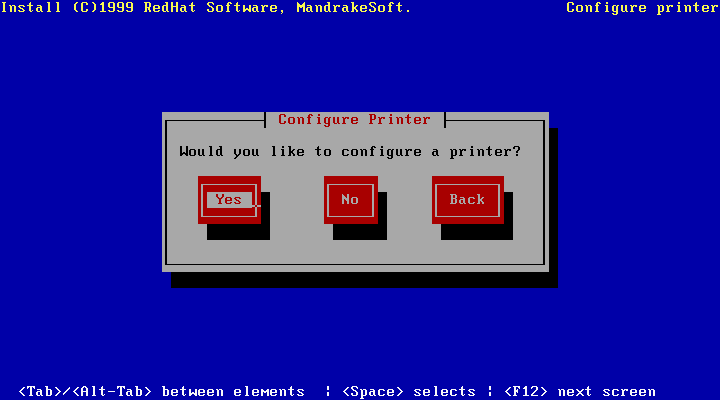
A printer is configured in exactly the same as in the case of DrakX. You may refer to that section in the Install guide for more information.
root passwordNext you'll be prompted to enter a password for the root
account. You will have to type it twice to ensure that you haven't made
a mistake, and you must type it blindly, in the two boxes of
figure 23.25.
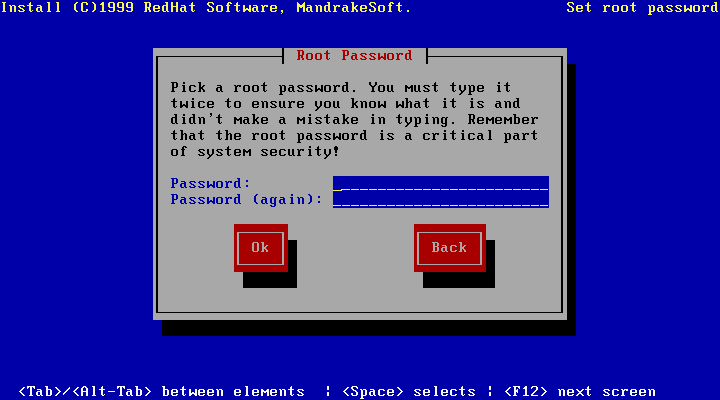
root passwordThe root password is a crucial part of the security of your
system. root is the account normally held by a system
administrator who has the power to modify all system settings. Choose
your root password carefully!
You'll then be asked to add a non-privileged user to the system. This is
the account you will use to login for normal, everyday activity. It is
strongly advised that you not normally use the root account as
it is very easy to make a mistake that will harm the entire system.
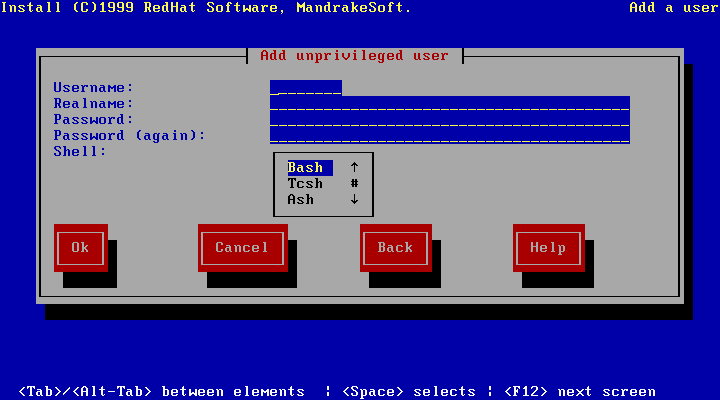
First you will have to choose a login name: this is the name under which the user will log into the system. The user's real name is not mandatory. You will then have to choose a password for this new user, and here too you will have to type it in twice, blindly, to ensure that you have not made a mistake. If you want a different shell from Bash, choose one from the list offered.
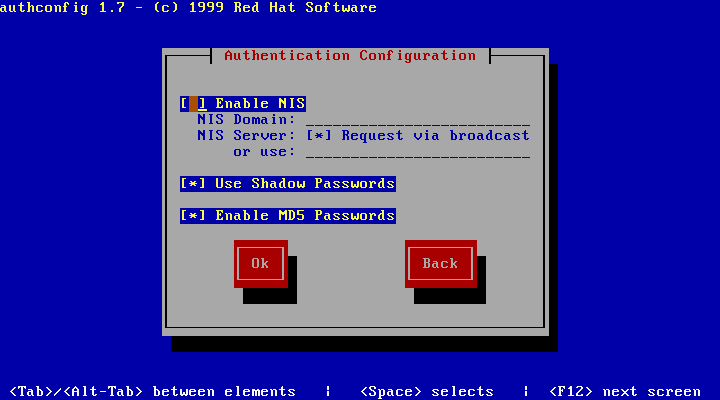
Here you have to decide on the user authentication mechanisms for the machine (figure 23.27).
The default choices are generally what you need. However, if you are part of an existing network, you may have to use NIS. Ask your network administrator in this case.
The program will then ask you, as in figure 23.28, if you want to create a boot disk.
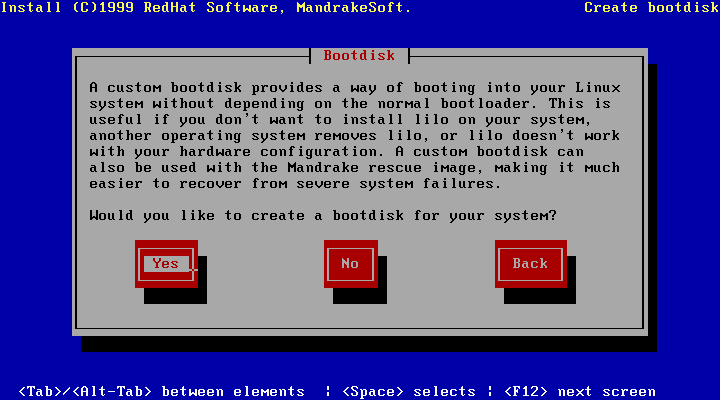
You should answer Yes for various reasons:
You will need to insert a disk which, if it is not empty, must not contain data which you may need...
You can now install the Linux boot loader, LILO.
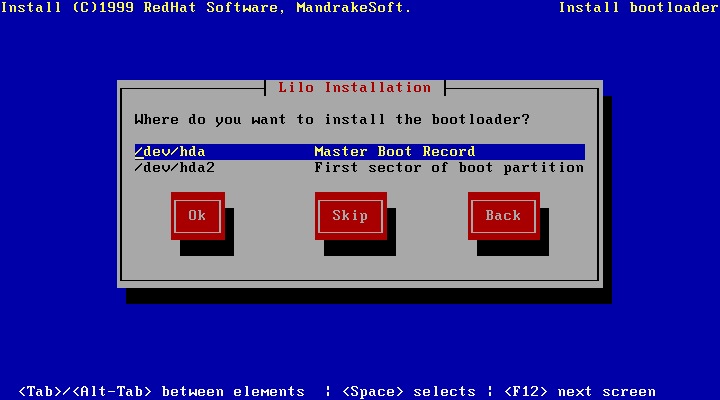
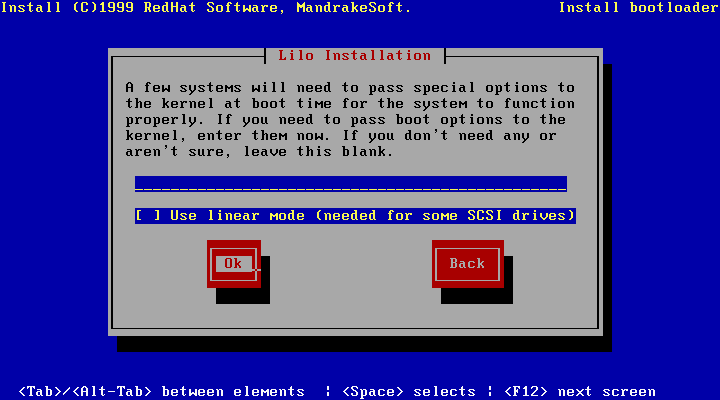
If you want to use LILO instead, reply Master Boot Record: this will name the boot sector. The program will then ask you to send the options to LILO where necessary, but you shouldn't need to (figure 23.30).
You now have to configure X Window System, the heart of the Linux graphical interface. If you have a recent card, it should normally be detected automatically. Otherwise, you will have to choose it from a list.
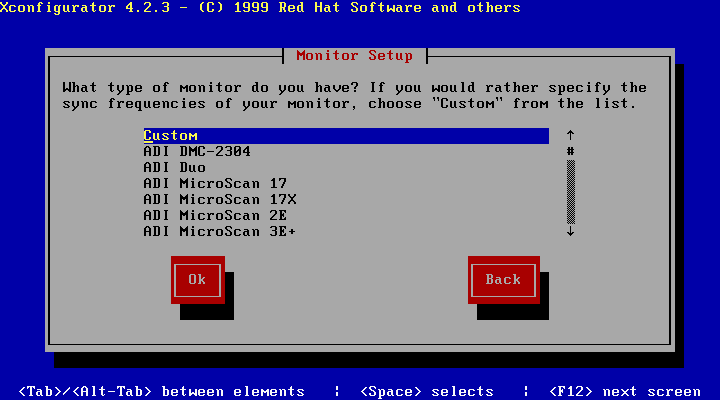
Next you have to choose a monitor. Here, too, you will be given a list of choices. If your monitor is not in it, choose Custom in the screen of figure 23.31.
You will then have to choose between several typical configurations: choose the one which corresponds to yours. But be careful not to choose one which is too high -- it could damage your system.
In some cases, you will also have to enter the amount of video memory on the card. The installation program will then start X to try to find the available video modes, and will suggest a default mode which you can accept or not. Finally, after the mode choices, X will start up and you will be able to judge the result.
System installation is now completed, and you now simply have to read
through the rest of the manual :)