| Linux-Mandrake: |
| Install Guide |
MandrakeSoft
January 2000 http://www.linux-mandrake.com
Not all the devices have been configured upon installation. The task of this section is to help you to configure the most common devices: modems, sound cards, ZIP drives and the configuration of X Window System if you were not able to configure X during installation or you are not satisfied with the adjustments.
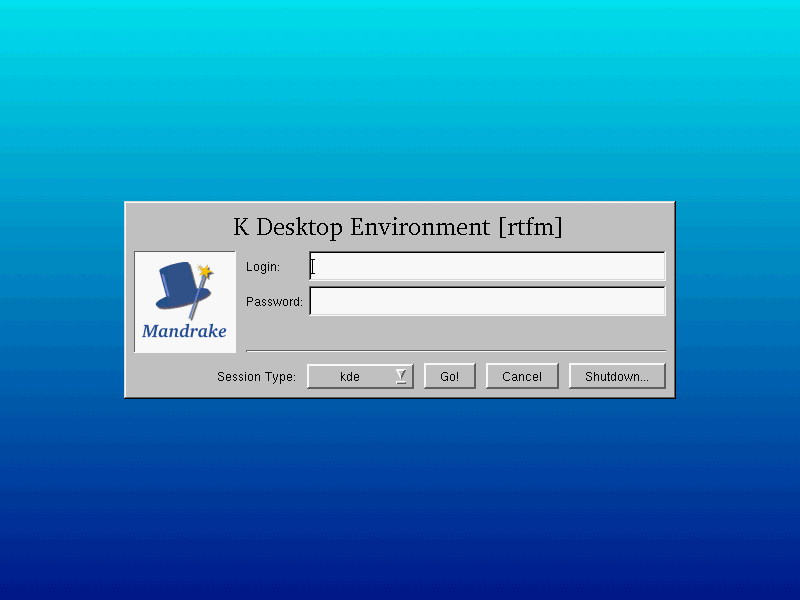
If you are in X Window System, you will have the KDM screen in front of you (figure 8.1).

As you have to configure the system, you then have to connect as
root. You will have to type the password blind, then
select OK. You will then go into the KDE environment
by default (unless you have selected another).
If X has not been configured for you, you will find yourself in console mode (figure 8.2).
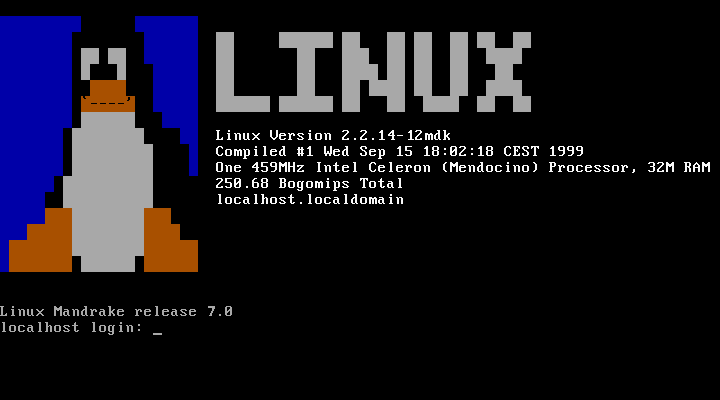
The procedure is practically the same. Type your user name when invited to, and the system will ask you for your password, which you will then again have to type blind.
All the steps described in this section will be on the command line, so if you are in X, you will have to open a terminal. In KDE, an icon is available on the control panel, and this will give you direct access (figure 8.3).
Configuration can begin from here.
As has already been mentioned, winmodems are not supported. If you have a PCI modem, it is highly probable that it is one.
If you have a real modem (that is, an external modem), Linux
will have no problems operating it. The only thing you will have to know
is the serial port to which it is connected. The equivalent of COM1
in Linux is /dev/ttyS0, the equivalent of COM2 is
/dev/ttyS1, and so on.
Assuming that your modem is on COM2, you then type the following command:
$ ln -s /dev/ttyS1 /dev/modem
and that's it!
To test whether your modem works properly, you simply have to launch the
program called minicom in console mode. Initially, the program
will send an initialization chain to the modem. If your modem is
working, it will answer OK. Type Ctrl-A x to
leave minicom.
The program to start is called sndconfig
(figure 8.4).
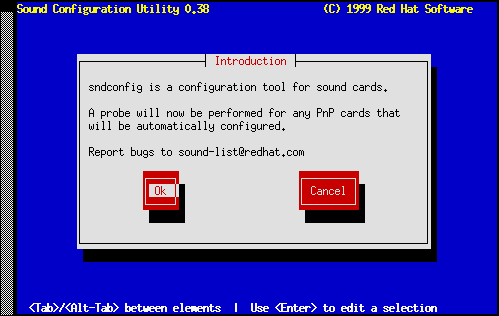
You simply have to press Enter to validate. It will then detect
the sound card, whether it be PCI or ISA. The detection process
result is reported as in figure 8.5.
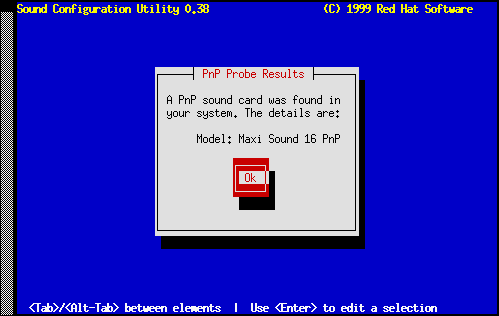
Then press Enter again.
Note: successful detection does not mean that the sound card is in fact supported...
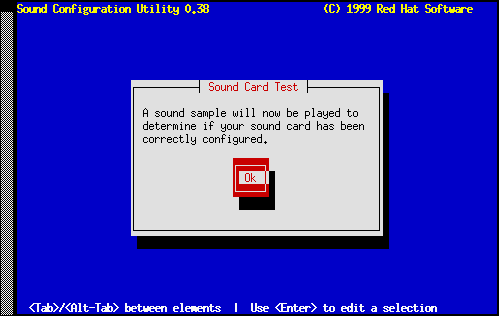
If the sound card is supported, the program will then change your configuration files and insert the modules needed to start it up, and will play a sound sample (figure 8.6).
If you do not hear this and are sure that everything has been properly
connected, unfortunately you won't get sound in Linux... But you
should report the detection result by e-mail to the address
bugs@linux-mandrake.com. This will enable us to let you know when
your sound card is supported, with instructions on how to operate it.
If all has gone well, all that remains to do is to configure the MIDI
support if your sound card can do so. Here too, sndconfig will
decide whether your card can do it and will insert the corresponding
modules if it recognizes the sound card.
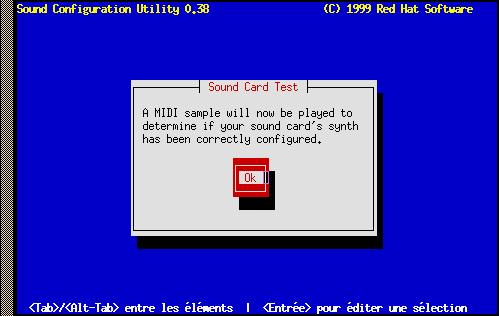
Then it will play a MIDI sample (figure 8.7).
After launching sndconfig, you won't need to reboot! Your
sound card has been configured and is operational from now on. In the
sub-menu, Multimedia in the KDE K menu, you
will find several programs enabling you to handle your sound card. In
particular, the Sound mixer will regulate the volume on the
various channels. There is even a mixer in console mode:
aumix.
ZIP drives are certainly the most widely used back-up supports in today's PC world. Linux has supported them for a long time in all the existing versions: by parallel port, SCSI or IDE. SCSI or IDE drives are configured automatically, but this does not apply to parallel port drives. However, even in the case of IDE or SCSI ZIPs, there will not be a preconfigured icon on the KDE desktop, but we are going to create one in the second part of this section.
The problem with parallel port ZIPs is that the two versions (100
MB and 250 MB, also called "ZIP Plus") are
managed by two different modules: ppa ("normal" ZIPs) and
imm (ZIP Plus). Depending on your model, you will have to type the
following command line at the prompt, always as
root:
$ modprobe ppa
or:
$ modprobe imm
When this has been done, your ZIP drive is operational. All that remains to do is to specify where you are going to mount it, in order to be able to see its contents. To do this, you will have to know what file designates it.
The most common case will be the absence of any SCSI disk. If this is
the case, your ZIP will be called /dev/sda. If you have a
SCSI adapter with SCSI disks on it, you will have to know how
many: your ZIP drive will then be known as a /dev/sd<x>
device, where <x> is a letter of the alphabet which depends on
how many SCSI disks you have. If you only have one, it will be
b; if you have two, it will be c, and so on.
Now you have to specify where to mount it. For this, you have to create
a mount point. As a rule, this will be /mnt/zip:
$ mkdir -p /mnt/zip
Then, for clarity, you can create a link with the device file locating
the ZIP in /dev/zip:
$ ln /dev/sda4 /dev/zip
This stage is naturally not compulsory, but it is carried out in order to maintain compatibility with the way in which the installation program has configured an IDE or SCSI ZIP.
Please note that the device mentioned is /dev/sda4 and not
/dev/sda (similarly, you would put /dev/sdb4 instead of
the filename /dev/sdb): this is because of the general
partitioning of the ZIPs. Those of you who know Linux know
that the ZIPs can be repartitioned, but keeping the original
partitioning guarantees that it will operate in the same way in
Windows and Linux.
Finally you have to complete the /etc/fstab file so that the
ZIP is acknowledged:
$ echo '/dev/zip /mnt/zip vfat noauto,user 0 0' \
       >>/etc/fstab
From here, you can access your ZIP from the command line using the
commands mount and umount (see the
Reference manual). However, you can also configure KDE
for mouse access, which we will describe below.
To create an icon for the ZIP on your KDE desktop, right-click on an unoccupied part of the desktop and select New/File System Device. You will then have the sort of window of figure 8.8.

Give it a specific name (for example, ZIP.kdelnk) then select
OK; a window will appear and you can select the tab
Device. Fill it in so that you get this what is shown in
figure 8.9.
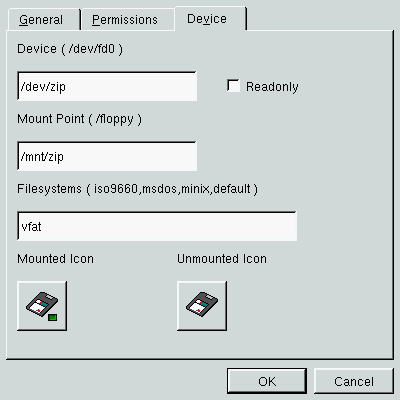
Note: for the icons, you simply have to click on the default icon and a list of available icons will then appear. The two icons selected are easy to find because they are the last two.
Your ZIP drive has now been configured and you can access it by simply clicking on the desktop.
framebuffer is the last solution remaining if your card is not accepted natively by XFree86. Framebuffer supports virtually all modern graphics cards, but to get it to work you have to take a certain number of steps.
The first thing you will have to do is to replace the kernel with a kernel which supports framebuffer, and the X server which can run it. You will therefore need your Linux-Mandrake CD. Insert it in the drive and mount it:
$ mount /mnt/cdrom
Then install the packages you need:
$ cd /mnt/cdrom/Mandrake/RPMS
$ rpm -i kernel-fb*
$ rpm -i XFree86-FB*
$ rpm -i XFree86-VGA16*
$ cd
$ umount /mnt/cdrom
You may now eject your CDROM.
You now have to tell LILO that you want to start your new
kernel. To do so, you have to edit your /etc/lilo.conf file (see
the Reference manual on using a text editor) and add a section which
resembles this one (replace the partition behind root= by whatever
suits your system!):
image=/boot/vmlinuz-2.2.13-7mdkfb
        label=fb
        root=/dev/hda1
        vga=0x316
        read-only
You will also have to tell it which video mode you want: this is the
task of the vga= directive in the section. The example shows a
resolution of 1024x768 in 16 bits (65536 colors). The table of video
modes is the following; choose the one you want:
| 648x480 | 800x600 | 1024x768 | 1280x1024 | |
8 bits | 0x301 | 0x303 | 0x305 | 0x307 |
16 bits | 0x310 | 0x313 | 0x316 | 0x319 |
24 bits | 0x311 | 0x314 | 0x317 | 0x31A |
32 bits | 0x312 | 0x315 | 0x318 | 0x31B |
Now you need to make changes to LILO:
$ lilo
Then you have re-start the machine:
$ reboot
When the LILO prompt appears, type fb then Enter:
LILO boot: fb
If the new kernel boots up correctly, you can then edit your
lilo.conf, replacing the line:
default=linux
by:
default=fb
then retype lilo once again. This will then be the kernel
which starts by default.
Now you have to go on to configure X itself. You first have to
generate a configuration file. To do this, start the program
Xconfigurator, again as root.
When Xconfigurator asks for your card, choose
Unlisted Card (right at the bottom). Choose VGA16 as
the server.
As usual, choose the right parameters for your monitor. When
Xconfigurator asks you to configure the monitor, you will
choose Do not test.
Then you will have to specify the amount of video memory on your card. To configure the clock frequency, validate the default choice: No clockchip setting (recommended).
Xconfigurator will then ask you if you want to start the
command X -- probeonly. Again reply Skip, and give
the same answer when it wants to test your current X
configuration.
Your configuration file has now been written and you will have to change
it so that it uses the right X server. The file to be changed is
called /etc/X11/XF86Config.
First of all, look for a Screen section in this file. A
typical section looks like this:
Section "Screen"
    Driver      "vga2"
    Device      "Generic VGA"
    Monitor     "My Monitor"
    Subsection "Display"
        Modes       "640x480" "800x600"
        ViewPort    0 0
    EndSubsection
EndSection
It may be different for you. In particular, you can have several
sub-sections under Display. So change the section to this:
Section "Screen"
    Driver      "fbdev"
    Device      "My Video Card"
    Monitor     "My Monitor"
    DefaultColorDepth     16
    Subsection "Display"
        Depth       16
        Modes       "default"
        ViewPort    0 0
    EndSubsection
EndSection
Note: replace 16 by the depth you have chosen!
The last thing to do is to ensure that the default X server is the one you want:
$ cd /etc/X11
$ rm -f X
$ ln -s $(which XF86_FBDev) X
And that's it! You now just have to test it to be sure that everything is working properly:
# startx
If everything is working as you would wish, you can then ensure that
X is activated at bootup. For this, you have to edit the file
called /etc/inittab and replace the line
id:3:initdefault
by:
id:5:initdefault
You can enable the graphical login from now on:
$ init 5